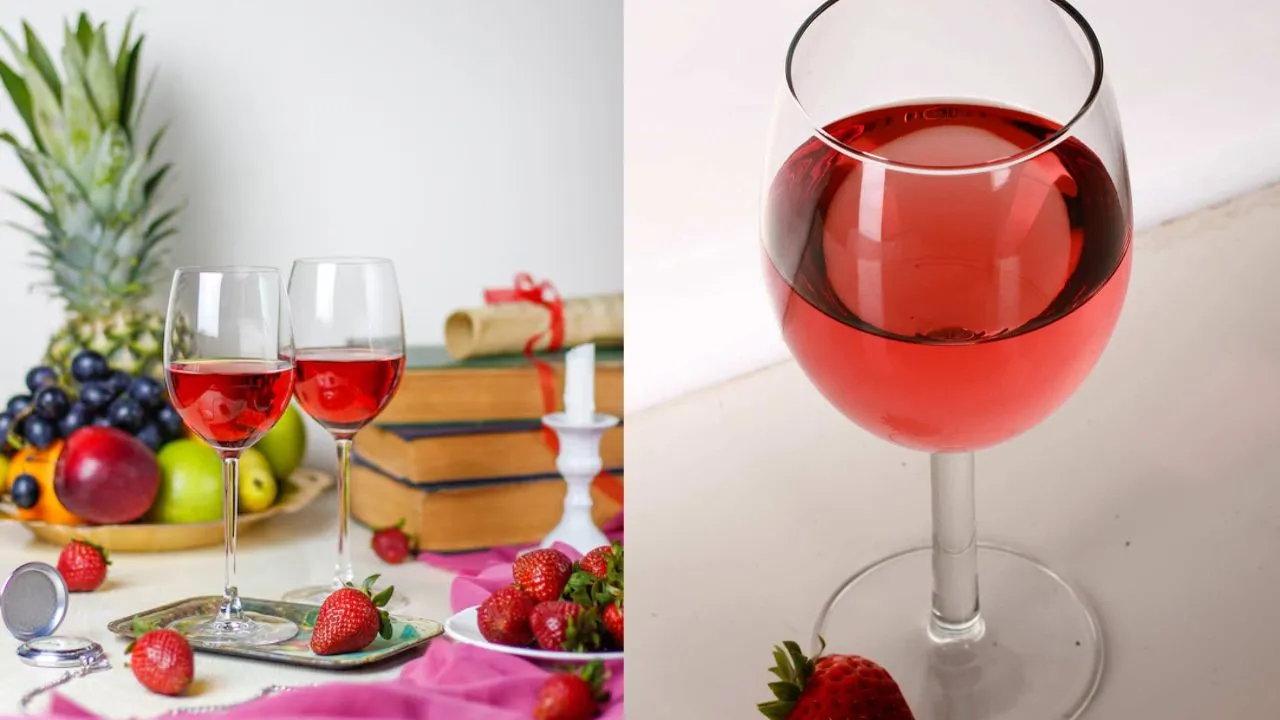
Making raspberry wine at home is easier to understand than most people think. You do not need a basement full of strange tools. You need fruit, sugar, water, yeast, and a clean place to let time do its work. The reward is a deep red wine that tastes bright and fresh, with a tart edge that grape wines often lack. This guide walks you through every step in plain language, from washing the fruit to pouring the first glass.
What You Need Before You Start?
Gather your supplies first. It is much easier to work when everything sits within reach. You will need a large food-grade bucket with a lid, a glass jug called a demijohn or carboy, an airlock and rubber stopper, a long plastic tube for moving liquid, a fine mesh bag or clean cloth, a hydrometer for measuring sugar, and homemade raspberry wine recipe .
For a batch of about six bottles, you will need roughly 1.8 kilograms of raspberries. Frozen fruit works just as well as fresh, and some makers prefer it because freezing breaks down the cell walls and releases more juice . You also need 1.2 kilograms of white sugar, four litres of water, a teaspoon of yeast nutrient, a teaspoon of pectic enzyme, and a packet of wine yeast . The pectic enzyme is not a trick or a shortcut. It breaks down a natural substance in fruit called pectin, which would otherwise leave your wine cloudy and dull . The yeast nutrient matters too, because raspberries do not carry enough food for yeast on their own.
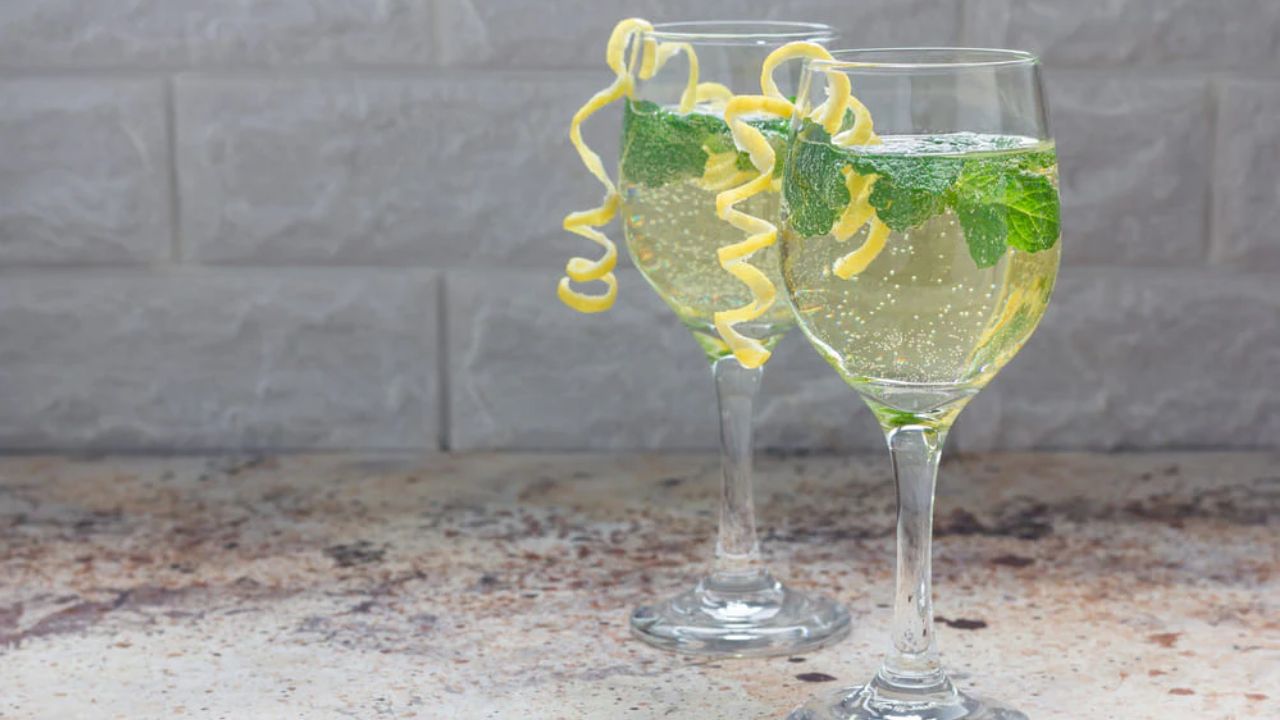
Read Also: White Wine Spritzer Recipe
Cleaning Comes First
Every tool that touches your wine must be clean. This is the one step people skip, and it is the step that ruins more batches than anything else. Wash your bucket, jug, spoon, airlock, and tube with hot water and a food-safe cleaner. Rinse them well. Let them air dry on a clean surface. Wild yeast and bacteria live on fruit and on kitchen tools, and you want only your chosen wine yeast to do the work .
Preparing the Fruit and the Sugar
Put the raspberries into your clean bucket. If you use frozen fruit, let it thaw first. Crush the berries with a potato masher or clean hands until they break apart and release their juice. Do not blend them into a smooth paste. Small pieces are fine, and whole seeds will not hurt the wine .
Boil two litres of water and pour it over the crushed fruit. Add the other two litres as cold water to bring the temperature down. Stir in the sugar until it fully dissolves. The liquid should feel cool or barely warm to the touch before you go further. If it is hot, wait. Heat can kill the yeast later .
The First Quiet Day
Once the liquid is cool, stir in the pectic enzyme and the yeast nutrient. If you choose to use a crushed Campden tablet to knock back wild microbes, add it now. Cover the bucket with a clean cloth or a loose lid and leave it alone for one full day . This waiting period lets the pectic enzyme start working and lets any Campden tablet fade so it will not stop your yeast.
Adding the Yeast and the First Week
Sprinkle the wine yeast over the surface of the liquid. Do not stir it in hard. Cover the bucket again and keep it in a spot that stays between 18 and 22 degrees Celsius . Within a day or two, you should see small bubbles and a thick cap of fruit rising to the top. This is normal and good.
For the next five to seven days, push that fruit cap back down into the liquid once a day with a clean spoon. This keeps the fruit wet and stops mold from forming on top . You are not just watching the wine; you are helping it stay healthy.
Moving the Wine Off the Fruit
After about five days, the fierce bubbling will slow. Lift the mesh bag out of the bucket and let it drain. Do not squeeze it hard. Hard squeezing pushes bitter bits from the seeds and skins into your wine . Let the liquid drip naturally, then set the fruit aside.
Siphon the liquid into your clean glass jug. Leave behind the thick layer of sediment at the bottom of the bucket. Fit the airlock and stopper. Move the jug to a cool, dark place where it will not be bumped .
The Waiting Months
Now the wine sits. For four to six weeks, the yeast continues to work slowly. The airlock will bubble less and less. The wine will begin to clear, and a fine layer of sediment will gather at the bottom. When the bubbling has nearly stopped, siphon the wine into a fresh clean jug, leaving the sediment behind. This step is called racking .
Let it sit again for another four to six weeks. Check for clearness. If more sediment has formed, rack once more. A raspberry wine that looks cloudy will still taste fine, but clear wine feels more finished in the glass. The pectic enzyme you added at the start is what makes this clearness possible.
You May Also Like: Simple Low Calorie Wine Cocktail Recipes
Bottling and the Patience That Pays
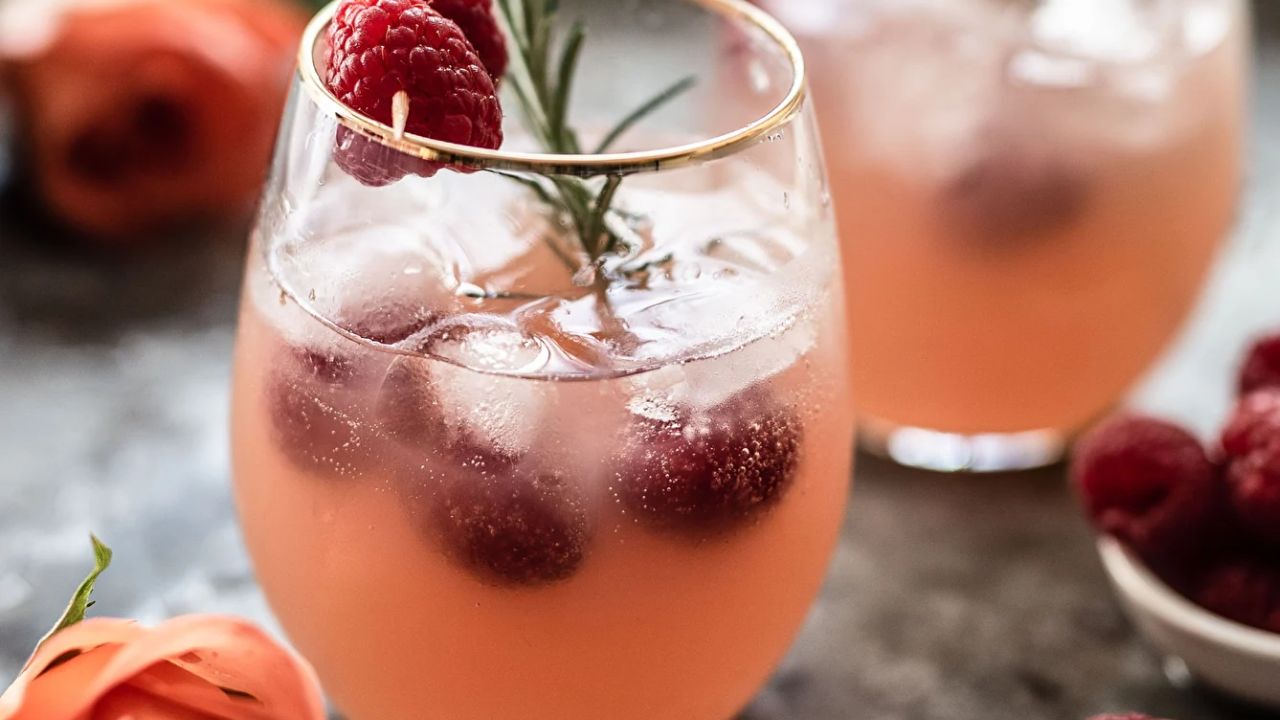
When the wine is clear and no new sediment appears for two weeks, it is ready for bottles. Siphon it gently into clean wine bottles and seal them with corks. Store them upright for a day, then lay them down or keep them standing in a cool, dark place .
Here is the hard part. Young raspberry wine can taste sharp and rough. It needs time. Most makers say at least three to six months of aging makes a real difference . Six months gives a smoother, rounder drink. A year turns it into something you will want to save for homemade raspberry wine recipe.
If Something Goes Wrong
A few problems are common, and most have simple answers. If the airlock stops bubbling after only a few days but the wine still tastes sweet, the yeast may have stalled from cold or from a lack of nutrient. Move the jug somewhere warmer and give it a gentle stir . If the wine smells like vinegar or nail polish, unwanted bacteria have taken over. Sadly, that batch cannot be saved. Clean your tools even more carefully next time.
If the finished wine tastes too sharp or dry for your liking, you can sweeten it slightly before bottling. But you must first add a stabilizer to stop the yeast from waking up and fermenting the new sugar. Ask your homebrew shop for potassium sorbate and follow the label .
A Drink Worth the Wait
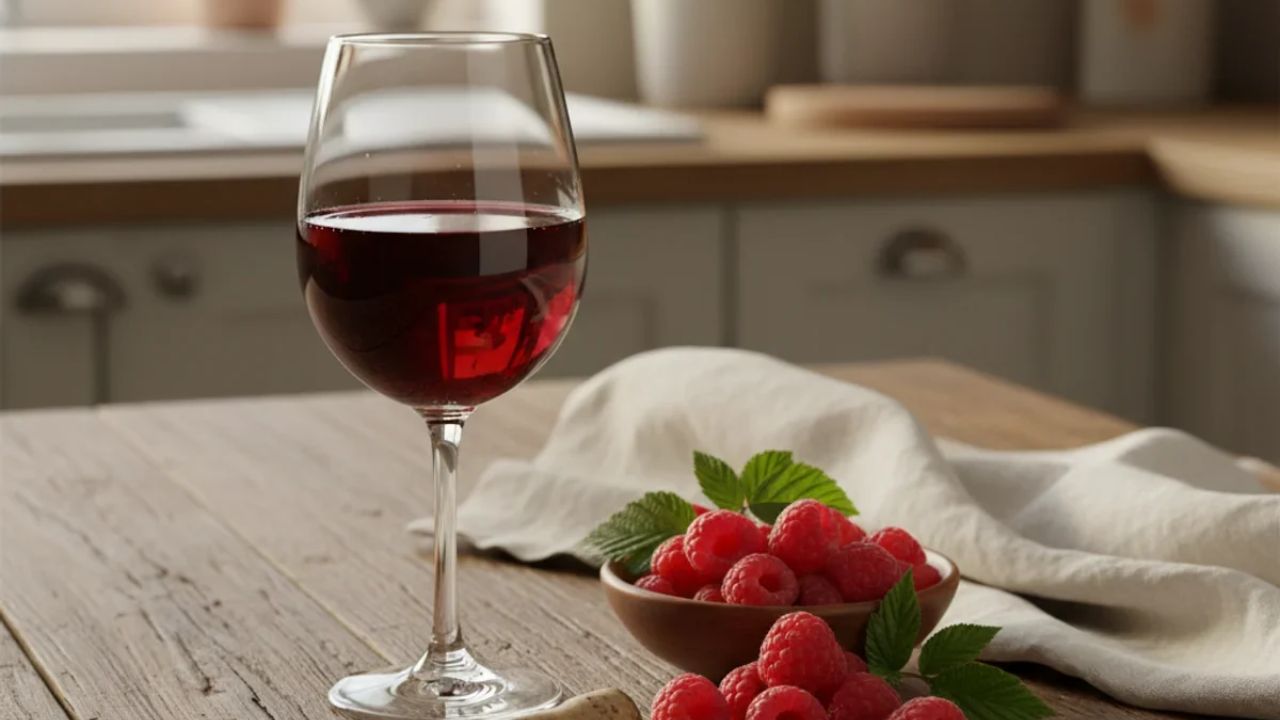
Raspberry wine is not a fast project. It asks for clean tools, a cool corner, and the patience to let weeks and months pass without fussing. But the result is a wine that carries the true taste of the fruit: bright, tart, and deeply red. Start with good berries, keep everything clean, and let time do its quiet work. Your first glass will tell you it was worth it.